Monday 21 October 2013

Twelve Steps to a Stocking


I have been working with some women at my mother's hostel, back on the old favourite of sewing with ties. They love unpicking them and seeing them turn into something useful.

Then, purely by coincidence, I came up with a sort of "pro-forma" to quickly piece stockings. The process is:

1. Draw the stocking on the backing fabric.

2. Put on a light box, or up to a window, and draw the design on the other side.

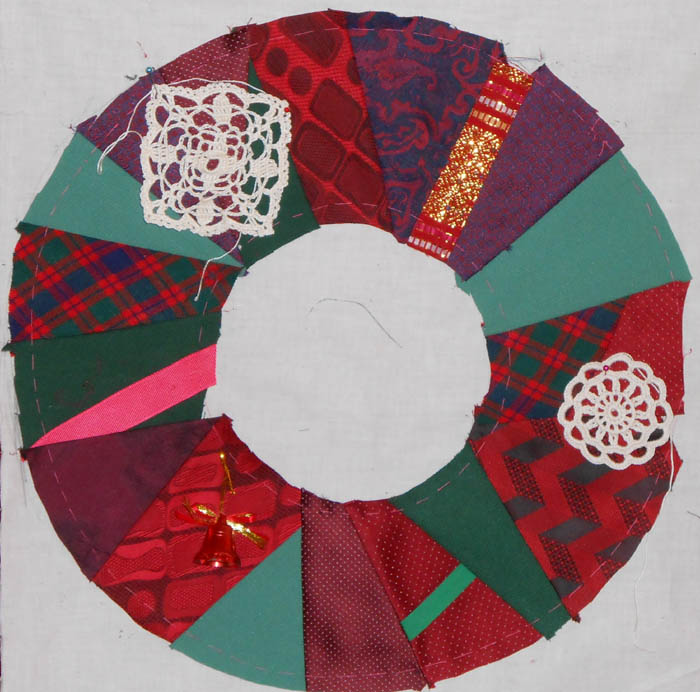
3. Cut a four-sided centrepiece (not five, as in the usual flip-and-sew).

4. Place it so the shortest side is pointed to the toe, and piece around the next three sides (as above).

Note - in the example above, the shortest side should be slightly less parallel to the third side. Experiment. There are currently two parallel lines.

5. Take a section of white tie lining, and finish the top with a white cuff.

6. Tack (Baste?) the current work. (That is why you drew it on the reverse as well)


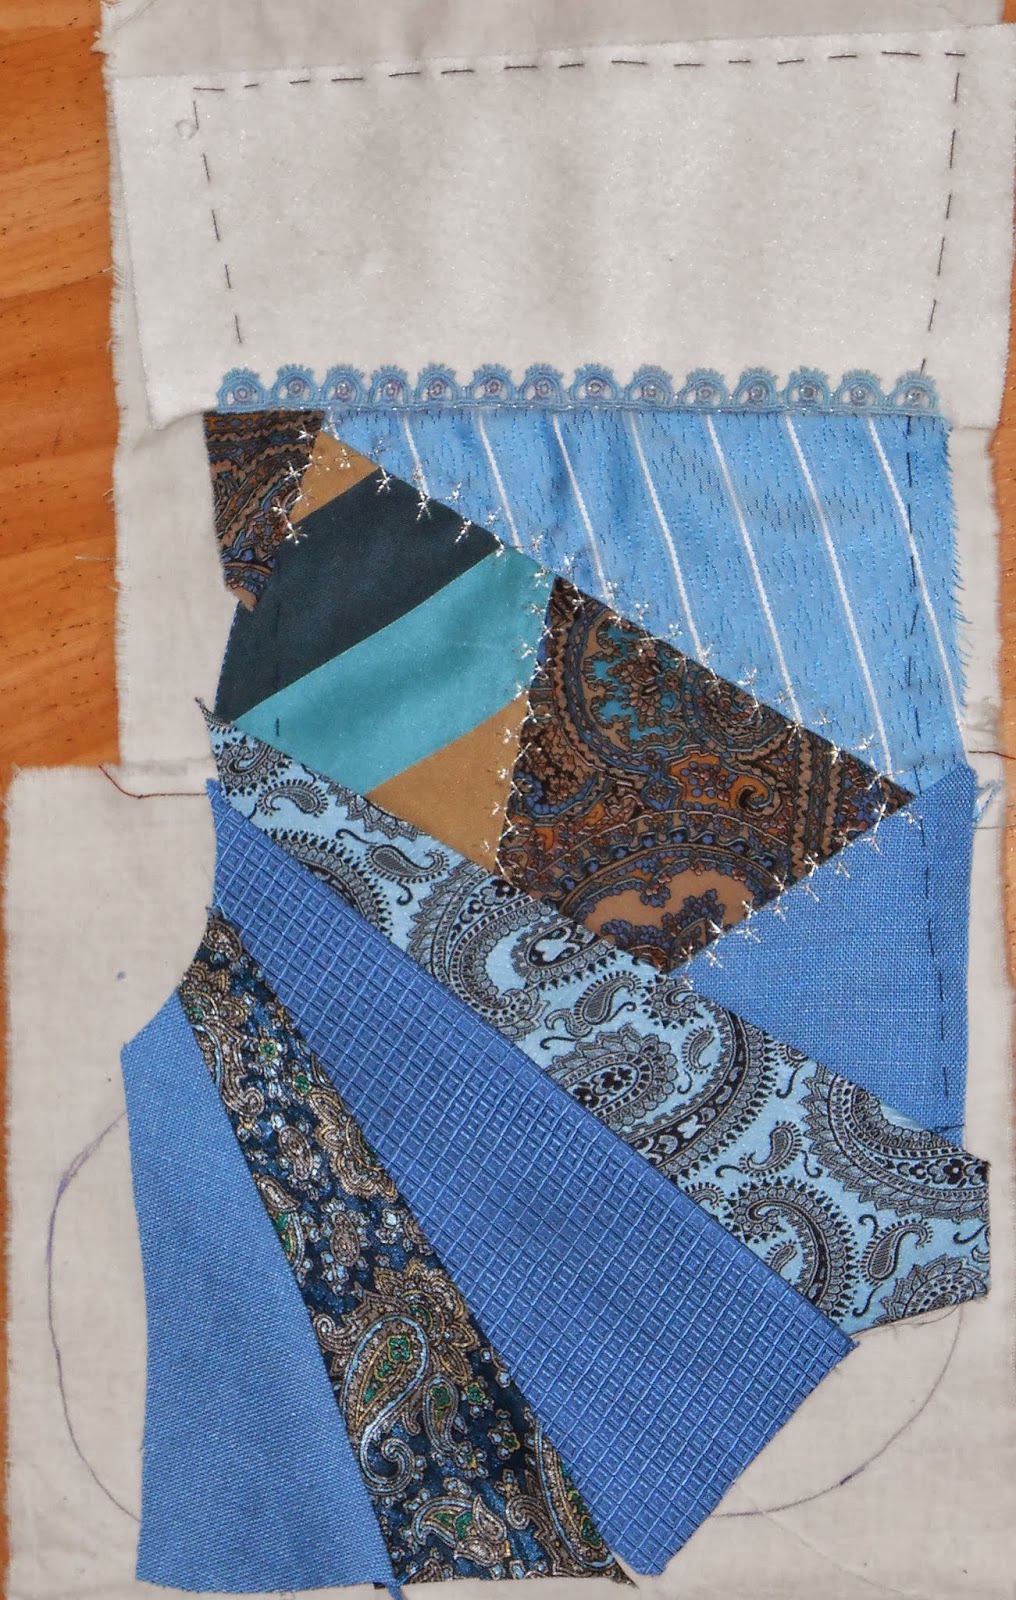
7. Then fan with three to five pieces, across most of the foot.

(You can solve the parallel lines here too, by just getting the first fan, the paisley, to take more off the bottom of the centre block.)


8. Fan the toe with a white piece of the tie lining, preferably the same fabric as the cuff.

9. Machine or tack/baste

10. Cut a shape for the heel, and applique down with lace.

11. Embellish.

12. Make up. (This one still needs a bit of massaging!)


This was a quick work to sell by silent auction - so not much embellishment - just some lace coloured by being boiled with dark blue crepe paper, and the same stitch treatment for all seams, in a silver metallic.

Now, all I want it some to make another.

Monday 2 September 2013

A Little Bit of Christmas


It has been a little quiet around here - but I have been sewing. I have a little group of women at my mother's hostel who meet with me on Monday afternoons - and a quicker group of tie-unpickers I have yet to find.

We started doing a few blocks, to make bags for blokes who have wheelie walkers, but quickly got side-tracked by the thought of some Christmas fund-raising.

So this is our first stocking, make entirely from ties. This one was just getting the process right. It will go up for "silent auction", which I think is like tender to, wait for it - buy iPads for residents to use!


So this is what we are working on next. It is a rather large wreath, again all from ties, with snowflakes being crocheted by one of the residents. The piecing is finished, and we have picked out red and green buttons. We have some glittery crochet thread that might just turn into lace.

Christmas, here we come - we are working on a blue/silver stocking next, and I think I have a way to quickly piece them almost worked out.

Thursday 22 August 2013

Where do old machines go?


So, where do old machines go when they can no longer sew?

This one, and another, are living at Rusty's Collectables at Rosedale, just up the highway.

And I have spent faaar too long on Photoshopping it to get rid of the background.

But Jeepers, it was FUN!

Wednesday 14 August 2013

Work in Progress Wednesday - the Moths


Work in Progress for this Wednesday is Mum's Moths. About 25 years ago, she made these moths and cocoon in a workshop with Annemieke Mein at Sale. The process involved fabric painting and free machine embroidery, special fabrics and other secret activities.

Mum was always insistent that it needed Emu feathers for the antennae (note to non-Aussies - large, flightless bird). She was also insistent that they had to be from either side of the Emu!

I have finally obtained some, and she was right - they are perfect. Now all I need is to find some beads (I have heaps) and at least duplicate the beads on one wing on the other.

And maybe shorten the antennae - not sure.

Where do you obtain Emu feathers from? They are the feathers on the slouch hats of Light Horsemen, but in this case we finally found someone who had a wild emu that ran up and down the fence near the house, and regularly left some on the barbed wire. I think it must have run both ways, as there are definitely feathers pointing both ways.

Thursday 8 August 2013

Feather Stitch Combination


A new Feather Stitch combination. It is a random Feather Stitch over which I have sewn Fly Stitch to give a fern effect. For the locking stitch of the Feather Stitch, come up on one side of the Feather Stitch and go down on the other. The flowers are random green French Knots, then pink ones.

You can see my other Feather Stitch combinations HERE. The whole block is HERE.

Wednesday 7 August 2013

Work in Progress Wednesday

The most energetic sharon b over at Pin Tangle runs a Work in Progress Wednesdays, to inspire slow coaches like me to get a wriggle on - so I have decided to post my world-record attempt.

This WIVSP (Work in VERY Slow Progress) was started by my Mother in 1947 as an embroidered supper cloth, which she never finished. I had a go at it in the 1980s, but my embroidery was obviously so unlike hers, that there was no point.


So I have been allowed to cut it up, and "re-birth" it as a wall hanging. Two blocks are totally finished, and four are almost finished - I just need to do the second pass on the Blanket Stitch around the edging.


(The purple purse on the corner is the WIP for next Wednesday - may as well plan ahead.)
 

This week I have finished Block 9, below. Blocks seven and eight still await however, as do Blocks  ten and twelve - why do anything in order?


This is Block 9 - you can see the whole lot HERE, and find some of the stitch combinations in the sets HERE.


Sunday 4 August 2013

UFO Framed

I hate to think how long ago I finished this block, in classes with sharon b - must dig out my paper journal. I had it framed about three months ago, and it currently is visiting my Mother's room. It ended up being in a shallow shadow box, and I like it very much. I am into very simple framing as well as stitches.

And this photo has reminded me very much about organising and backing up photos. I went looking for the folder on my computer to add the final photograph, and all the ones of it in progress have disappeared. So I was very, very glad to find I had loaded them all to Flickr, and I could just download them again to store on my computer! You can see the process HERE.

Phew!

Yikes!!! I have just looked at my Journal - it was finished in March 2006. Thank Heavens for paper journals as well.